Step-by-Step: Automated Email Campaigns with AI Marketing Agents
From choosing your first campaign type to letting the AI optimize over time.
Email is still the highest-ROI marketing channel for most small businesses. But running email campaigns well takes time: writing copy, segmenting your list, scheduling sends, testing subject lines, and analyzing results. Multiply that across weekly newsletters, promotional campaigns, welcome sequences, and follow-ups, and it is easy to see why email often becomes the thing that “never quite gets done right.”
AI marketing agents change the math. They handle the repetitive parts of email marketing (writing variations, optimizing send times, segmenting audiences) so you can focus on strategy and the messages that actually need a human touch.
This tutorial walks you through setting up your first automated email campaign using an AI marketing agent. We will keep this platform-agnostic so the steps apply whether you are using ActiveCampaign, Klaviyo, HubSpot, Brevo, or any other AI-enabled email platform.
This article is part of our Ultimate Guide to AI Marketing Agents for Small Businesses, your complete resource for understanding and implementing AI-powered marketing.
What You Need Before You Start
Before you touch any software, make sure you have these pieces in place:
A clean email list. Remove bounced addresses, duplicates, and anyone who has not engaged in the last 12 months. AI agents make decisions based on your data. If that data is messy, the agent’s decisions will be too.
A connected data source. Your email platform should be linked to your website analytics, CRM, or e-commerce platform. This gives the AI behavioral data to work with, not just email addresses.
A clear campaign goal. “Send more emails” is not a goal. Something like “recover 15% of abandoned carts through automated follow-up” or “increase repeat purchases from existing customers by 20% this quarter” gives the AI a target to optimize toward.
Existing brand guidelines or sample content. Most AI platforms let you train the model on your voice and tone. Having 5 to 10 examples of emails you have sent before (ones you liked) makes this setup faster and more accurate.
Step 1: Choose Your Campaign Type
AI-powered email campaigns fall into a few core categories. Pick one to start with. Do not try to build all of them at once.
Welcome sequence. Triggered when someone joins your list. Usually 3 to 5 emails over the first two weeks. The AI personalizes content based on how the subscriber signed up (which form, which page, what offer attracted them).
Abandoned cart recovery. For e-commerce businesses. Triggered when someone adds items to their cart but does not complete the purchase. The AI can personalize the follow-up based on what was in the cart, the customer’s purchase history, and their engagement patterns.
Re-engagement campaign. Targeted at subscribers who have gone quiet. The AI identifies who is at risk of churning and sends personalized win-back messages. This is a good starting point if you have a large list with declining engagement.
Post-purchase follow-up. Sent after a customer buys. Can include order confirmation, product tips, review requests, and cross-sell recommendations. The AI tailors the timing and content based on what was purchased and customer behavior.
Promotional campaign. A time-bound offer or announcement sent to a targeted segment. The AI handles send-time optimization, subject line testing, and audience selection based on who is most likely to engage.
For your first AI-powered campaign, we recommend starting with either a welcome sequence or an abandoned cart recovery. Both have clear triggers, measurable results, and enough volume to give the AI data to learn from quickly.
Step 2: Set Up Your Trigger and Audience
Every automated campaign starts with a trigger, the event that tells the system to start sending.
In your email platform, navigate to the automation or workflow builder. Create a new automation and define your trigger. For a welcome sequence, the trigger is “new subscriber added to list.” For abandoned cart, it is “cart created but checkout not completed within X hours.” For re-engagement, it is “no email opened or clicked in X days.”
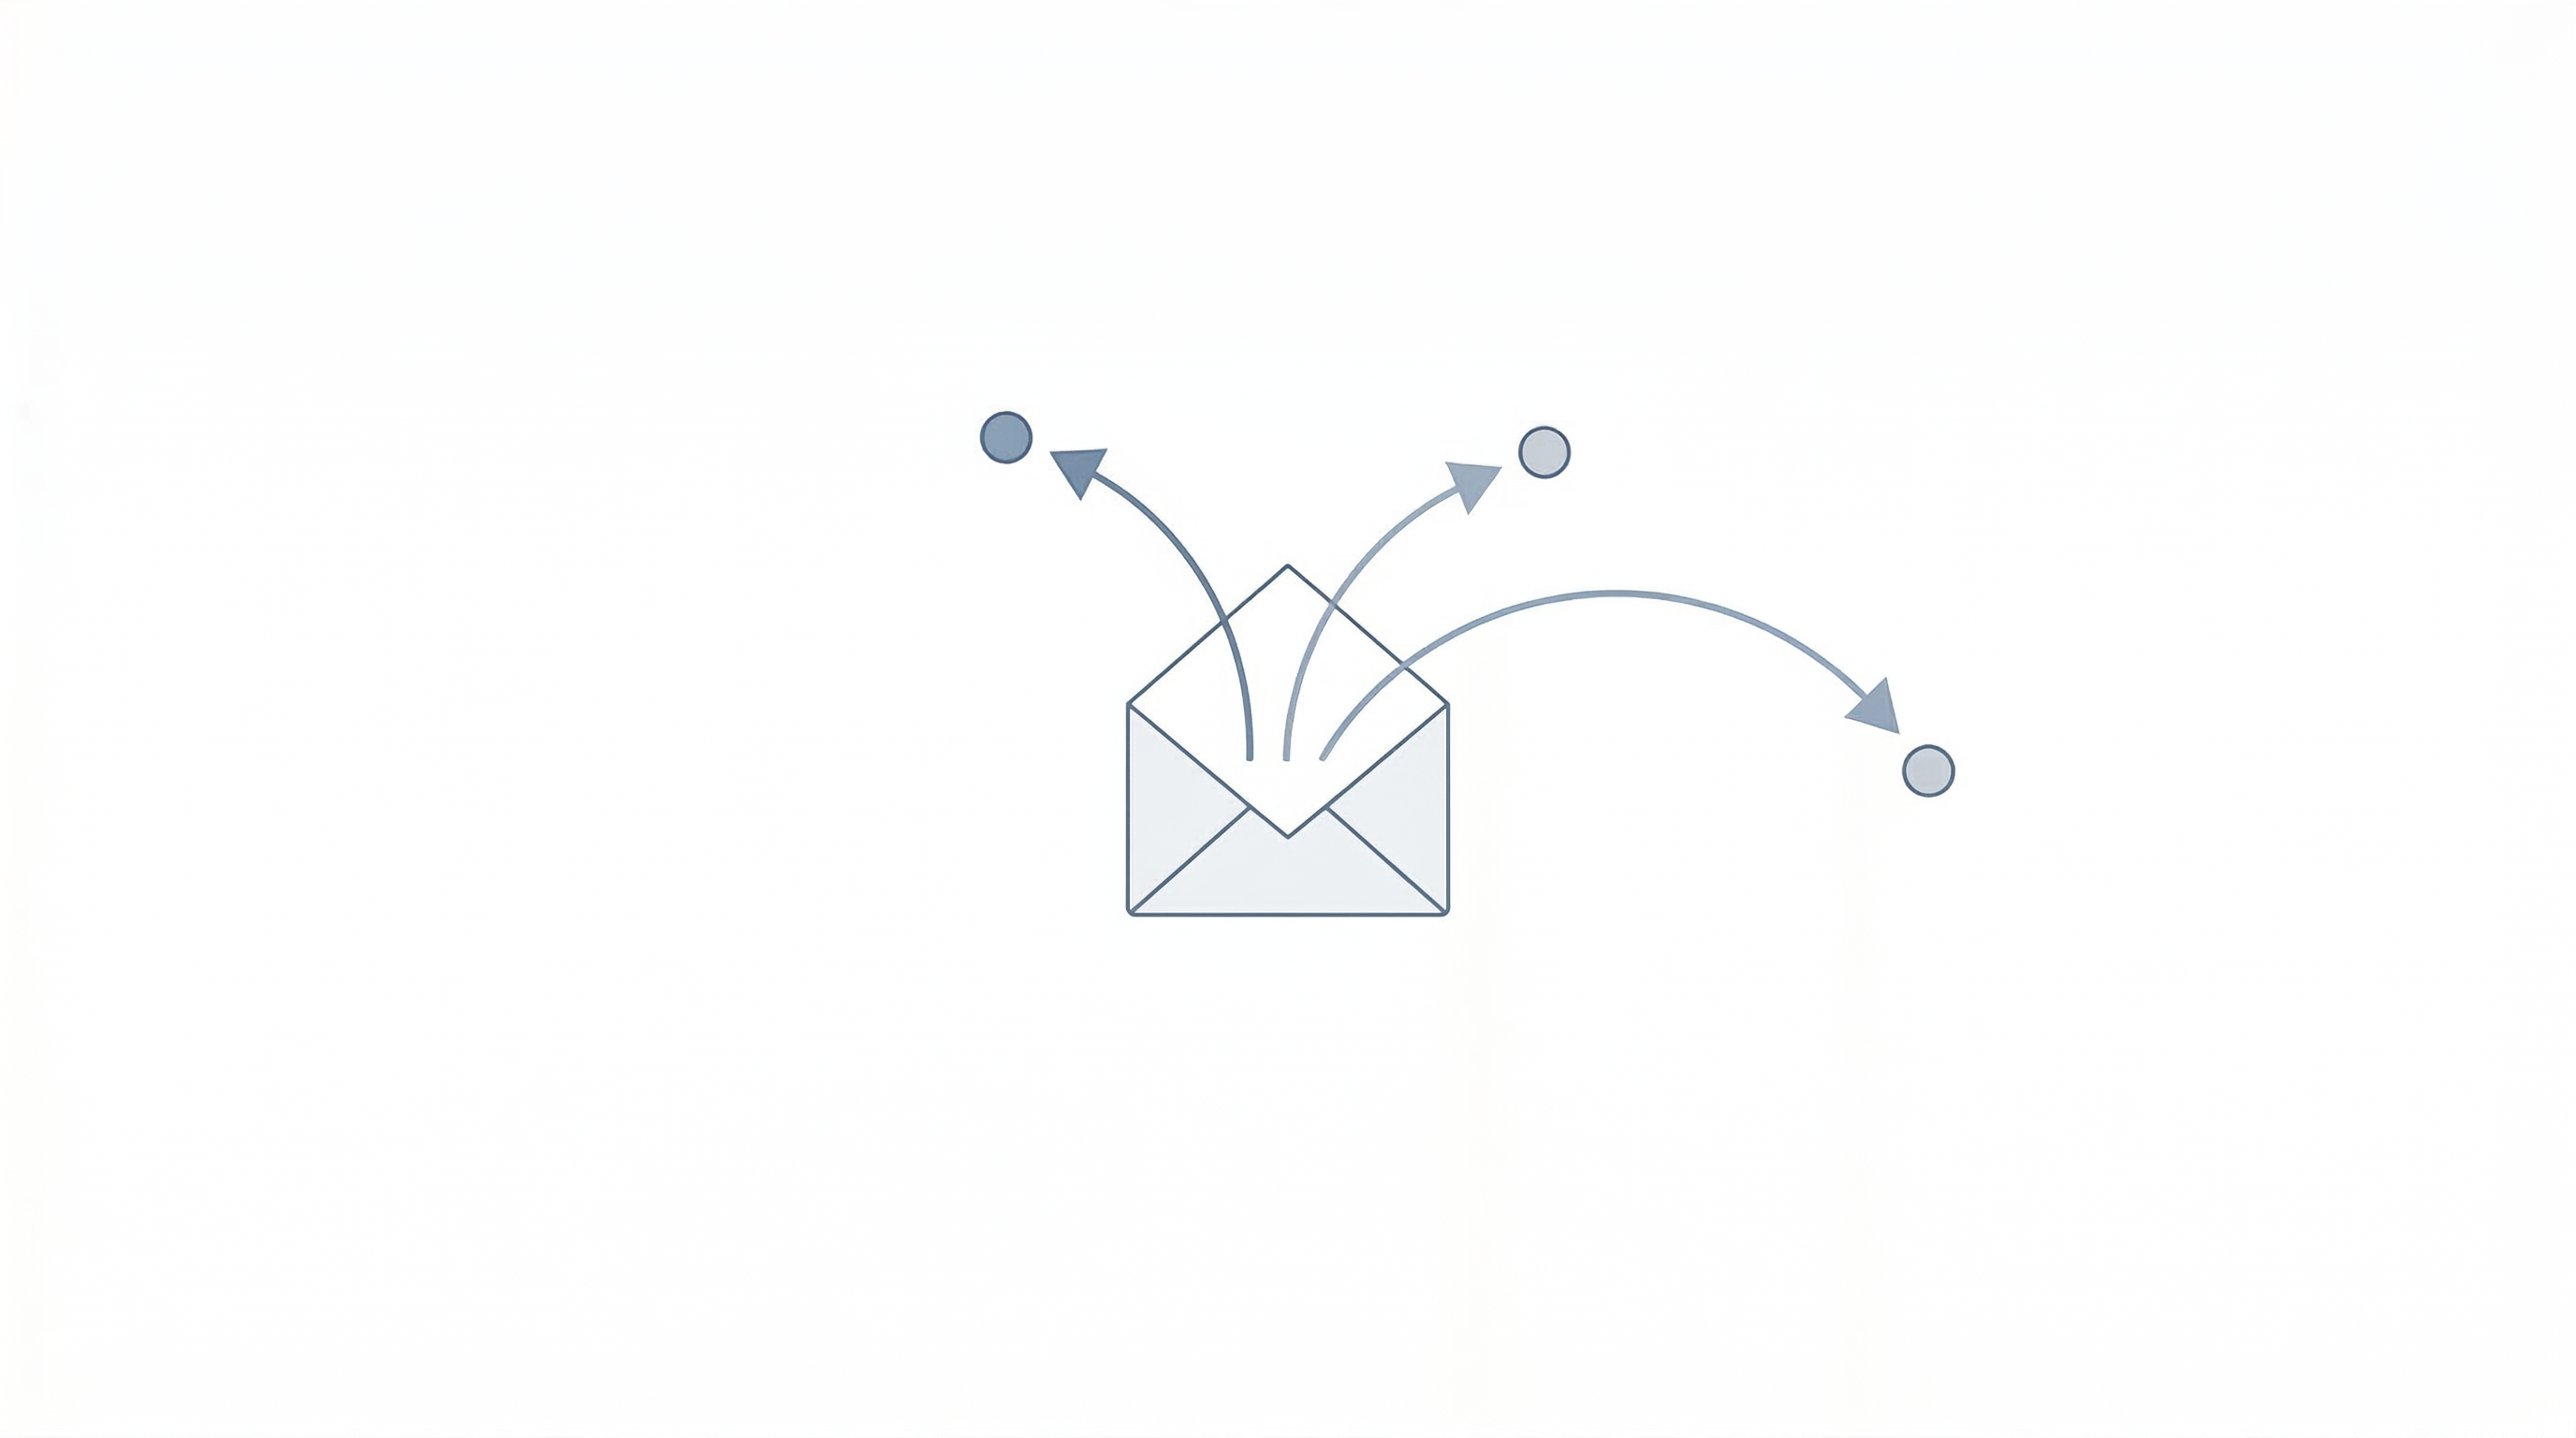
Next, define your audience. This is where the AI starts to add value. Instead of sending the same sequence to everyone who triggers it, let the AI segment the audience based on available data. For example, a welcome sequence might have different paths for subscribers who came from a paid ad versus those who signed up through a blog post. The AI can identify these segments and route people accordingly.
Most platforms handle this through conditional logic or “smart segments” that update automatically as new data comes in.
Step 3: Let the AI Draft Your Email Content
This is the step where the AI earns its keep. Instead of staring at a blank screen writing email copy, you give the agent your campaign goal, audience context, and brand guidelines, and it generates drafts.
Here is the general process across most platforms:
Select your campaign type and provide a brief description of the goal. Input or confirm your brand voice settings (tone, vocabulary, topics to avoid). Review the AI-generated content. The agent will typically produce a full email with subject line, preview text, body copy, and a call to action.
The key word here is “review.” Do not publish AI-generated content without reading it first. Look for tone accuracy (does it sound like your brand?), factual correctness, and anything that feels generic or off-putting. Edit as needed.
Most platforms also let you generate multiple variations of each email. Take advantage of this. Ask for 3 to 5 subject line options and 2 to 3 body copy variations. The AI will use these to run tests automatically once the campaign goes live.
Step 4: Configure Send-Time Optimization
One of the most impactful AI features in email marketing is send-time optimization. Instead of picking a single send time for your entire list, the AI determines the best time to deliver each email to each individual subscriber based on when they have historically opened and clicked.
In most platforms, this is a toggle or setting within the automation builder. Turn it on and the AI handles the rest. Your welcome email might land at 8am for one subscriber and 9pm for another, depending on their behavior patterns.
If you are on a platform that does not offer individual send-time optimization, you can still use AI to identify the best general send windows for your audience. Run your campaign for two weeks, review the engagement data by time of day and day of week, and let the AI recommend adjustments.
Step 5: Build Your Automation Sequence
Now you connect the pieces into a workflow. Here is what a basic welcome sequence looks like in most automation builders:
Email 1 (immediately after signup): Welcome message. Introduce your brand, deliver any promised lead magnet, set expectations for future emails.
Email 2 (2 to 3 days later): Value-first content. Share something useful: a tip, a guide, a resource. No hard sell.
Email 3 (5 to 7 days after signup): Social proof. Customer testimonials, case studies, or results you have delivered.
Email 4 (10 to 14 days after signup): Soft offer. Present your product or service with a clear call to action.
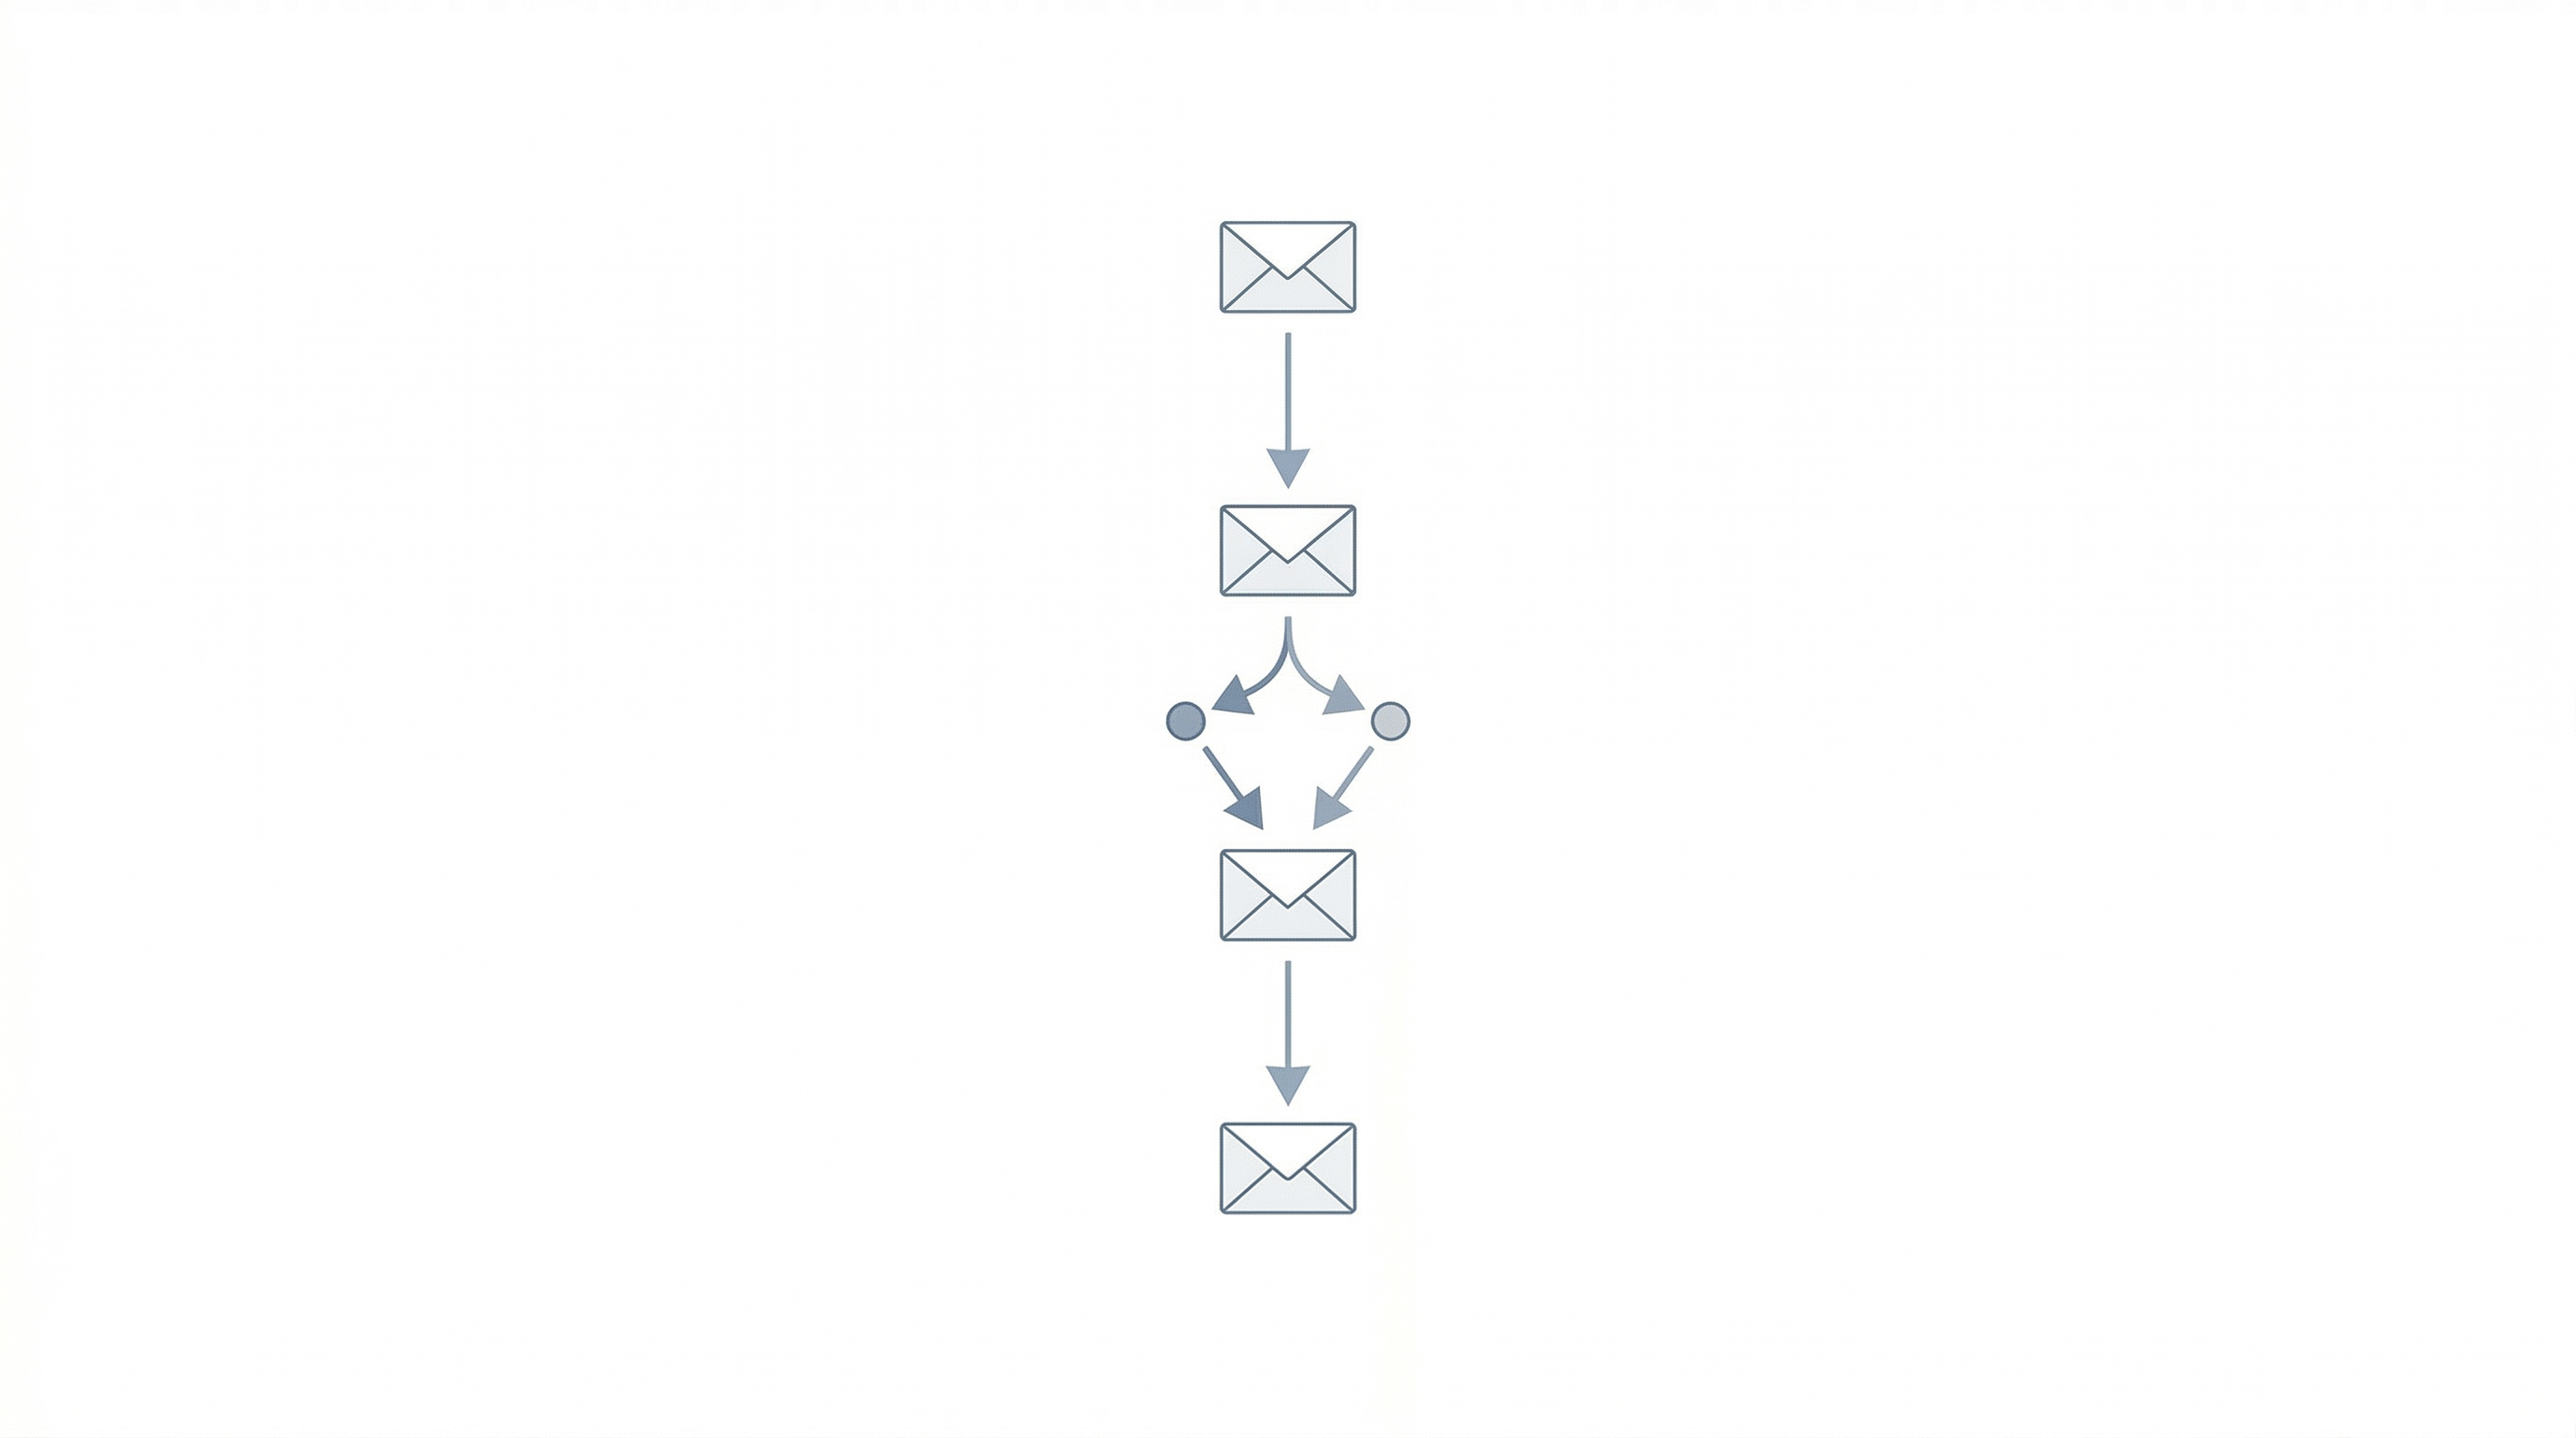
Between each email, add conditional logic based on engagement. If someone clicks the link in Email 2, they might skip ahead to the offer in Email 4. If they do not open Email 2, the AI can try a different subject line or delay the next send.
Most AI-enabled platforms will suggest these branching paths based on how similar audiences have responded to comparable campaigns. Use those suggestions as a starting point, then customize based on what you know about your customers.
Step 6: Test Before You Launch
Before you activate the campaign, send test emails to yourself and at least one other person on your team. Check the following: Does the formatting look correct on desktop and mobile? Do the links work? Is the copy free of errors? Does the sender name and reply-to address look right? Does the unsubscribe link function?
Also preview how the AI-generated subject lines appear in different email clients. Some subject lines that look great in Gmail get cut off in Outlook or Apple Mail.
Step 7: Launch and Monitor
Activate the campaign and let it run. Resist the urge to change things in the first 48 hours. The AI needs initial data to start optimizing.
After the first week, check your key metrics: open rate, click-through rate, unsubscribe rate, and (depending on your campaign type) conversion rate or revenue generated. Compare these against your benchmarks or historical averages.
After two weeks, review which subject line variations are winning, which send times are producing the best engagement, and whether any particular audience segments are outperforming others. The AI should be surfacing these insights in your dashboard. Use them to make informed adjustments.
Step 8: Let the AI Optimize Over Time
This is where patience pays off. The longer your campaign runs, the more data the AI collects, and the better its decisions become. After 30 days, you should see measurable improvement in your target metrics compared to your pre-AI baseline.
Common optimizations the AI will make on its own: shifting send times as subscriber behavior changes, rotating in higher-performing subject lines, adjusting the cadence between emails based on engagement patterns, and refining audience segments as new data comes in.
Your job at this point is to review weekly, flag anything that looks off, and gradually expand to additional campaign types as confidence builds.

Quick Troubleshooting Guide
Low open rates: Check your subject lines and sender name. Ask the AI to generate fresh variations. Also verify your list health and deliverability.
High unsubscribe rates: You may be sending too frequently or to the wrong segments. Review your audience targeting and consider lengthening the interval between emails.
Low click-through rates: The email content may not be matching what the subject line promises, or the call to action may not be compelling enough. Test different CTAs and content formats.
AI content sounds generic: Spend more time training the brand voice settings. Provide more examples of content you like and flag content that misses the mark so the AI learns faster.
For more on getting the best results from your AI tools, read 7 Tips for Maximizing ROI from Your AI Marketing Agent. For a look at common pitfalls, check out Common Mistakes to Avoid When Using AI Marketing Agents. And if you want to take your email personalization further across all channels, see Personalization at Scale: How AI Marketing Agents Tailor Customer Experiences.
Need help setting up AI-powered email campaigns for your business? Talk to the Emarketed team and we will help you get it right the first time.